Overview
Each workspace can store both structured and unstructured data. It can also store standard files such as text files and data analysis scripts. We generally categorize these assets in one of two ways:
- Data is considered to be data in a tabular form, (e.g. a CSV file) or another structured form (e.g. an SPSS file). It can also be semi-structured data (e.g. a head MRI scan or a genome sequence).
- Files are considered to be physical files that you would not normally perform data analysis on (e.g. scripts that you can run, or study protocol documents).
The workspace allows you to store data as files on the file system, or as tables within the database.
Where do my files belong?
We provide two predefined folders in the workspace for efficiently organizing the common types of assets you may want to upload. The Files folder is intended for storing most of your day-to-day items such as data analysis scripts, office files or other documents and data. The Blobs folder is meant for holding large items which you access less frequently.
How many files can I have?
Each folder in a workspace can store up to 5000 files, so long as they fit within the limits of the workspace storage.
Navigating the Files tab
To help you organise the workspace, the files within the workspace are divided into two folders, named Files and Blobs. The Files folder is intended for storing most of your working material like data analysis scripts, PDFs, Office documents and CSV table files. Blobs folder is meant for holding big items like large images, genomics files or larger database files.
Accessing the Files tab
To view the files associated with a workspace, select the Files dropdown and select either View files or View blobs. You can easily switch between the Files and Blobs folders by clicking the now opened tabs at the top of the file list.

Filtering and sorting files
You can easily filter the type of files displayed using the Filter box, which can be found at the top right of the file list.
You also have the option to sort your files either alphabetically (default) or by date by clicking on the corresponding table headers.
Files Tools
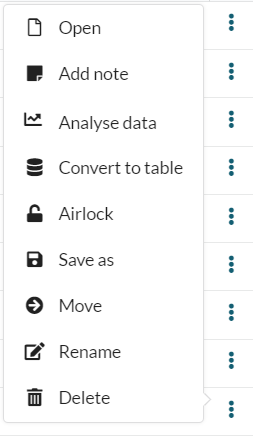
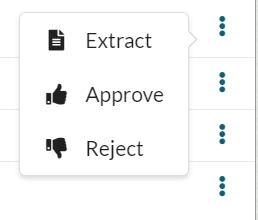
A number of tools are available for performing actions on a file or folder. Select the ellipsis at the end of a file row and it will present you with the options.
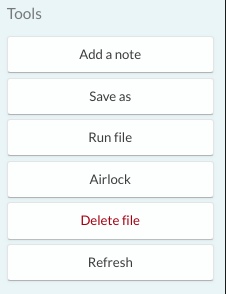
If you have opened a file, options will be presented to you in the right-hand sidebar.
Creating and deleting files
Create a new file
To create a new file in the workspace:

-
Click the Files dropdown menu and select ‘New file'.
-
This will open a New file window, where you need to:
- enter the name for the file
- choose a destination folder (either Files or Blobs)
- select the type of file you want to create from the dropdown: SQL file (.sql)*, CSV file (.csv)*, R file (.r)*, report file (.rnw)*, Jupyter Notebook (.ipynb)*, text file (.txt)* or other file (*.*).
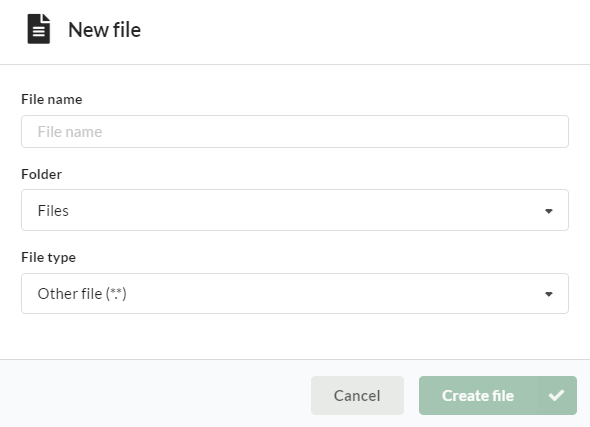
- Click ‘Create file’. This opens a text editor, allowing you to create the required file directly in your workspace.
- Once you have added your content, do not forget to click ‘Save’.
Delete a file
To delete a file in the workspace:
- Click on the Files tab to display a list of all files in the workspace, or use the search function to find the required file by name.
- Select the file by clicking anywhere on the row, other than the file name or icon.
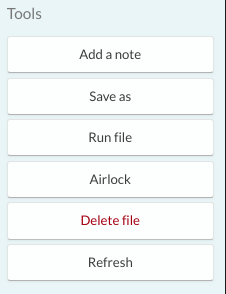
- A list of available functions relating to the selected file will appear in the right-hand sidebar. Click ‘Delete file’ and confirm your action in the popup window. The file now should be deleted.
Extracting your compressed files
During the lifetime of your workspace, you might find the need to extract compressed folders which have been added to the file system. In particular, items which are received via Workspace to Workspace Airlock will always arrive as a zip file. There are numerous ways to extract these files.
Extract using the Extract button
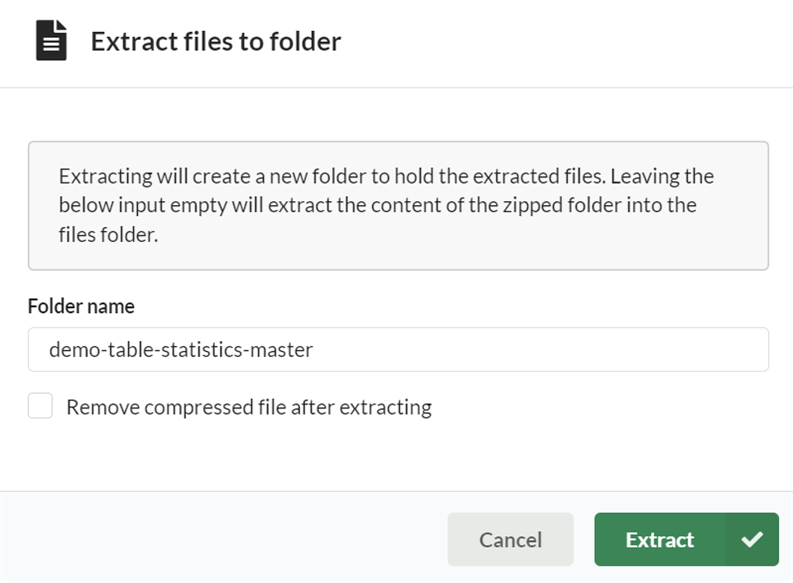
An 'Extract' button is available for folders which have a .zip extension. Choose the file you wish to unzip and click the ellipsis to show it. You will then be presented with a pop-up box that includes information on where your files will be extracted.
You can either add some text to the box which will create a new folder with that name and extract the files there or you can leave the name blank and the extracted files will be added to the current folder of your zip file (e.g. Files). You also have the option to remove the zip file after the contents have been extracted.
Unzip via the R Console
You may choose to unzip your files using the R console. The following code snippet could be reused and adapted to work for your file. The following example assumes that the file you wish to unzip is called ‘unzipMe.zip’, is stored in the Files folder and that you wish to extract your files directly into the Files folder.
zipF <- "/home/workspace/files/unzipMe.zip"
outDir <-"/home/workspace/files"
unzip(zipF, exdir=outDir)
Extract using a Virtual Machine
If you have a Virtual Machine available as part of your workspace, you may find it convenient to use the unzip functions there. Open your Virtual Machine and find your zip file then use the built-in Windows or Linux functionality to extract your files.
Linux
Open the terminal and cd into the directory where your .zip file is located. To extract your zipped file in the current folder, use the following command:
unzip file.zip
To extract the zipped file into a different directory, run:
sudo unzip file.zip -d /path/to/your/folder
Windows
Navigate to the folder where your .zip file is located. Right-click on it, select 'Extract All...' and then set the destination folder. Alternatively, you can do this using 7-Zip.