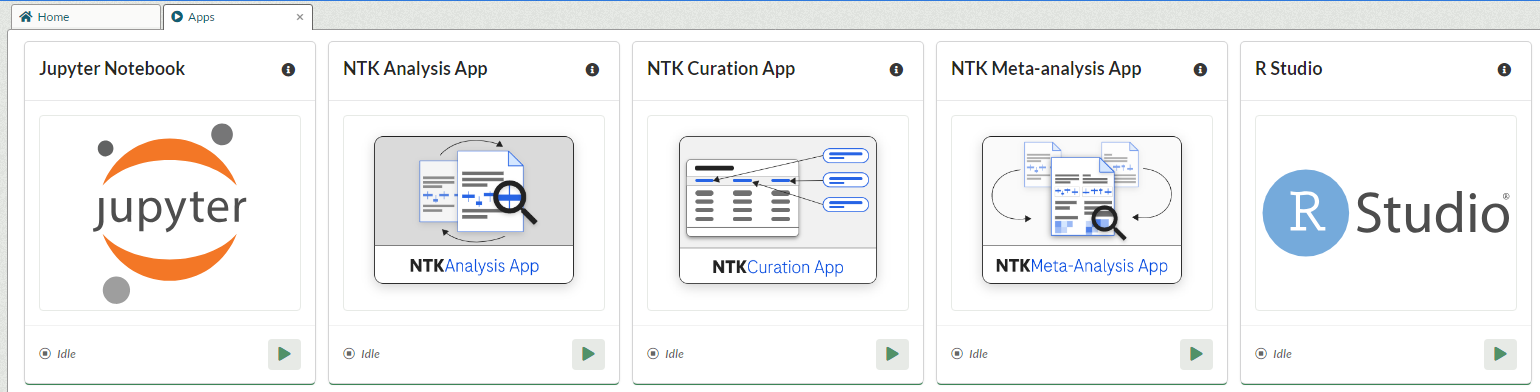
Using Built-in Apps
Your workspace comes equipped with five Built-in Applications, RStudio, Jupyter Notebook, NeuroToolKit (NTK) Analysis App, NeuroToolKit (NTK) Curation App, and the NeuroToolKit (NTK) Meta-analysis App. After your workspace request is approved, you will immediately have access to these tools.
Built-in Apps Descriptions
|
RStudio is an integrated development environment for the R programming language. It makes it easier to use R by including a console, code editor, tools for plotting, and other features for development and debugging. *Read more about RStudio (including R console, package installations, and LaTex) here. |
|
 |
Jupyter is a web-based interactive development environment for notebooks, code, and data. Users can configure and arrange workflows in data science, scientific computing, computational journalism, and machine learning. *Read more about Jupyter (including package installations, Python kernels, and R kernels) here. |
 |
The NTK Curation App module offers user-friendly data upload. Your biomarker data needs quality control and standardization before being used in the NTK Analysis App. Using the NTK Curation App is cost and time efficient because this automated data standardization process minimizes human error and allows comparability across data sets. *Learn more about the NTK apps (including a user guide and resources) here. |
 |
The NTK Analysis App allows you to select from a suite of powerful descriptive statistics to gain immediate insight into your data. Outputs from these analyses are available in publication quality tables and interpretable graphical visualizations which you can save locally. It provides interactive visualizations of descriptive statics, allowing users to document the findings in a what you see is what you get document. *Learn more about the NTK apps (including a user guide and resources) here. |
 |
The NTK Meta-Analysis App allows you to compare your biomarker data with other data across the community. The cloud can be harnessed to select, stratify, and compare biomarkers and clinical characteristics in a global way. The NTK meta-analysis app also sheds light on shared data, resources, and objectives, providing support for existing and new clinical use cases based on collective evidence. This in turn enables the contextualization of results and the generation of new hypotheses and evidence. *Learn more about the NTK apps (including a user guide and resources) here. |
Navigate to Built-in Apps
To run any of these, navigate to the App tab and click on the Name, Display picture or Play button of the App you want to start. When you start an App, it will open in a new tab and you will be able to use it from there.
Using the apps
Both Jupyter notebook and R Studio support individual instances meaning that even if someone else is using that App in the workspace at the same time as you, it will not have any impact on your ability to use the App. You will not be limited by other users in the workspace using, starting or stopping the same App.
RStudio uses R version 4.3.1 and any packages that are installed for that version by one user will be able to be used by all other users of that workspace when they are running the RStudio App.
Please note that the default working directory within the Apps will be set to your Workspace files directory.
Working on the same file in the Apps
If two users are working on the same file, the Apps will react differently when one of the users save their version of that file. If you are working on the file in RStudio and another user saves an updated version of that same file, the changes will populate directly into the file that you have open. Please note that RStudio does not notify you when this happens.
In Jupyter Notebook, the file you have open will not update if someone else saves a new version of that file. You will instead get a warning when you go to save the file, letting you know that the file has been changed. Jupyter Notebook then gives you the option to reload the file to the new version, overwrite the new version, or cancel the attempt to save the file. You can then save the file under a different name if you want to keep both the changes you made, and the changes the other workspace user made.
We are looking to add more Built-in Apps in the future. If you have a tool that you would like to use that is not included, please let our service desk know on support@alzheimersdata.org and we will investigate if it's possible to add it for you.
Version control through Git
Version control is available in a workspace through the use of Git from the Built-in Apps.
The Git function will create a Git repository that can cover all the files in that entire workspace and can be used by all members of that workspace. You can also use Git through Gitea from a Virtual Machine.
Creating a Git repository
A repository can be created either through the terminal in RStudio or Jupyter Notebook, or through the user interface within RStudio.
To use the terminal in Jupyter Notebook, open the App and go to new> terminal
Run the command
git init

This creates a repo for that workspace.
To use the terminal in RStudio, open the App and go to the tab named terminal
Run the command
git init
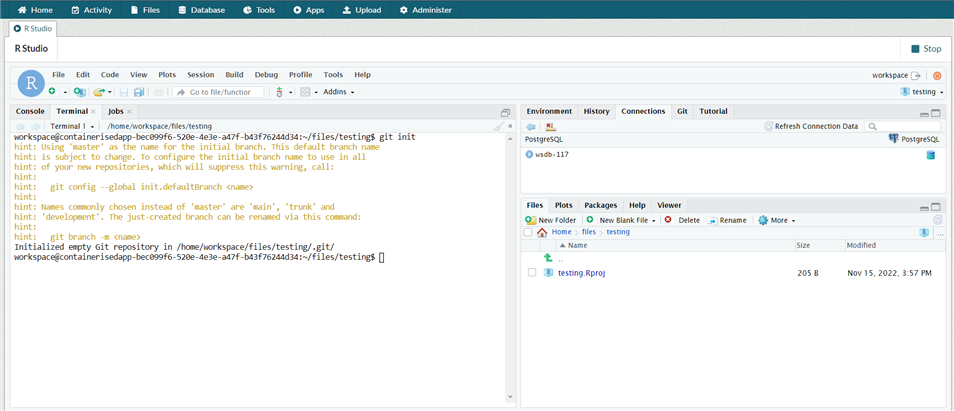
This creates a repo for that workspace.
To use the interface within RStudio, open the App go to File> New Project> New Directory> New Project and tick the option “Create a Git repository” before clicking on Create Project.
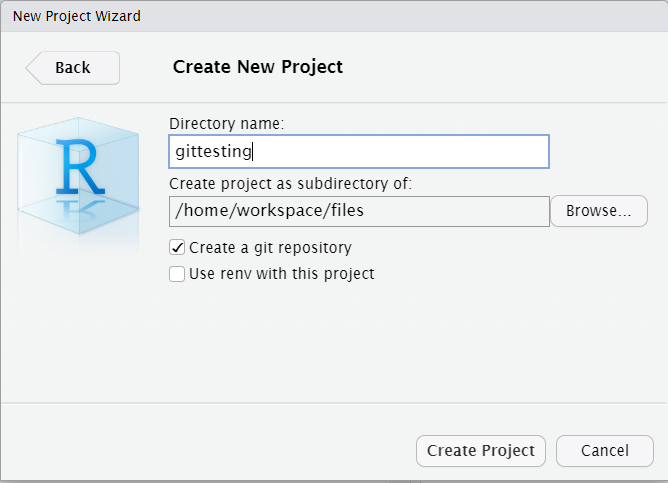
This creates a new project with a Git repository inside it.
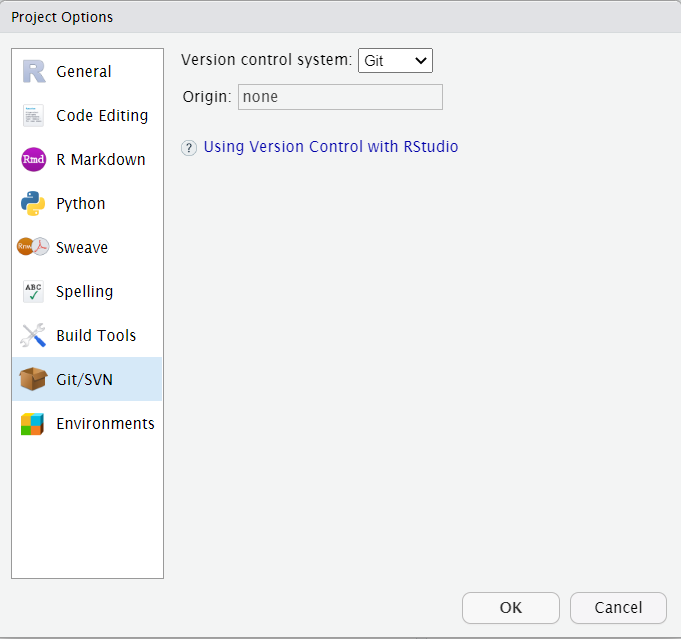
If you have already created a project but did not create a Git repository when it was created, go to Tools> Version control> Project setup and change the Version control system to Git.
Please note that due to a known issue within RStudio, the webpage needs to be refreshed when switching to a project in order for it to load.
Using Git
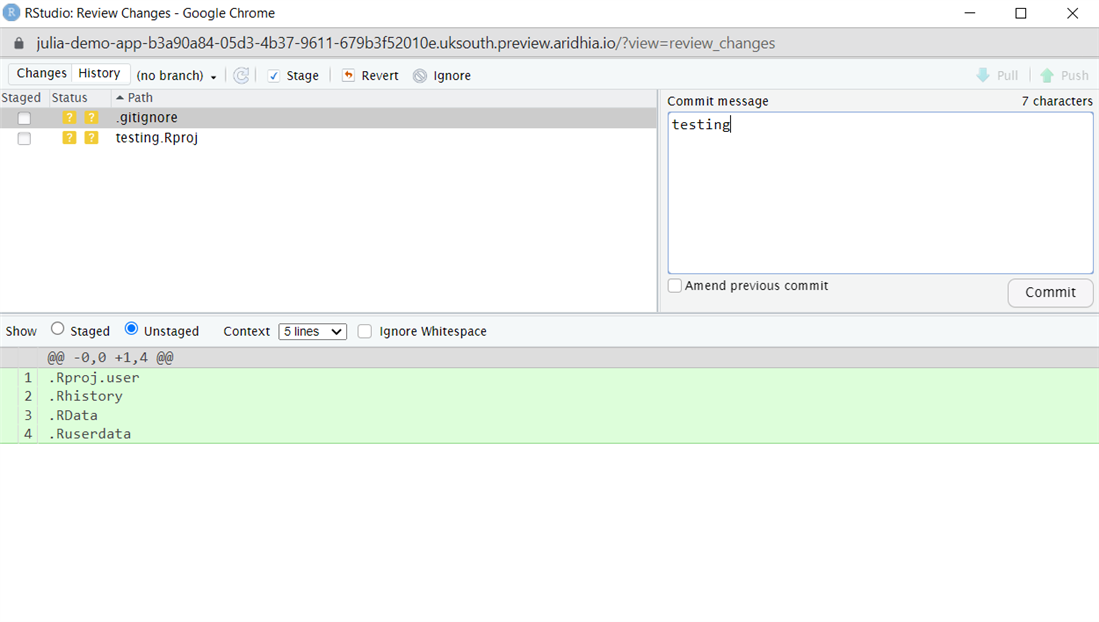
To use Git within RStudio, you can either use the CLI commands in the terminal that will be familiar to Git users or the UI options that you can find under Tools>Version Control to either do a commit or see the Git history.
To use the terminal, use the following commands:
git add <file>

git commit – m “commit message”
To use Git within Jupyter Notebook run the Git commands in the terminal:
git add <file>

git commit – m “commit message”
If the active branch of the repository is changed, it will be changed for all users of a workspace. Please keep that in mind if multiple people are working on a project at the same time. Full information about the features of Git itself can be found here.
Identities
In order to keep track of who has done the different commits to the Git repository, each commit will be marked with the name and email address of the person who did it.
This is a global setting for all users of the App within that workspace. Please note that if the local identity information is changed, that will override the global setting and every user in that workspace will get the same local identity. This will limit the ability to be able to tell who made the different commits, so we recommend that no change to the identity information is done.