Need to share files from one project workspace to another? Read below on how to seamlessly perform a workspace-to-workspace airlock.
Executing a Workspace-to-Workspace Airlock
1. Navigate to the file(s) of interest from the Files tab.

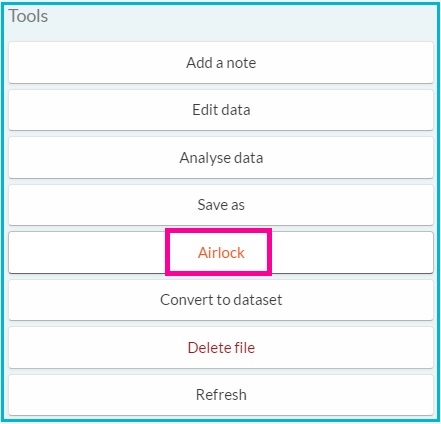
2. Select the checkbox next to the file name you desire to transfer, and choose Airlock from the righthand Tools menu.

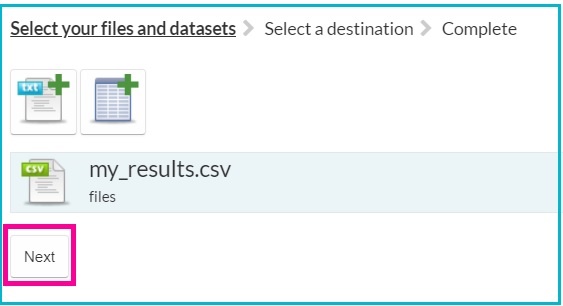
3. After reviewing your file selection on the following page, click Next.
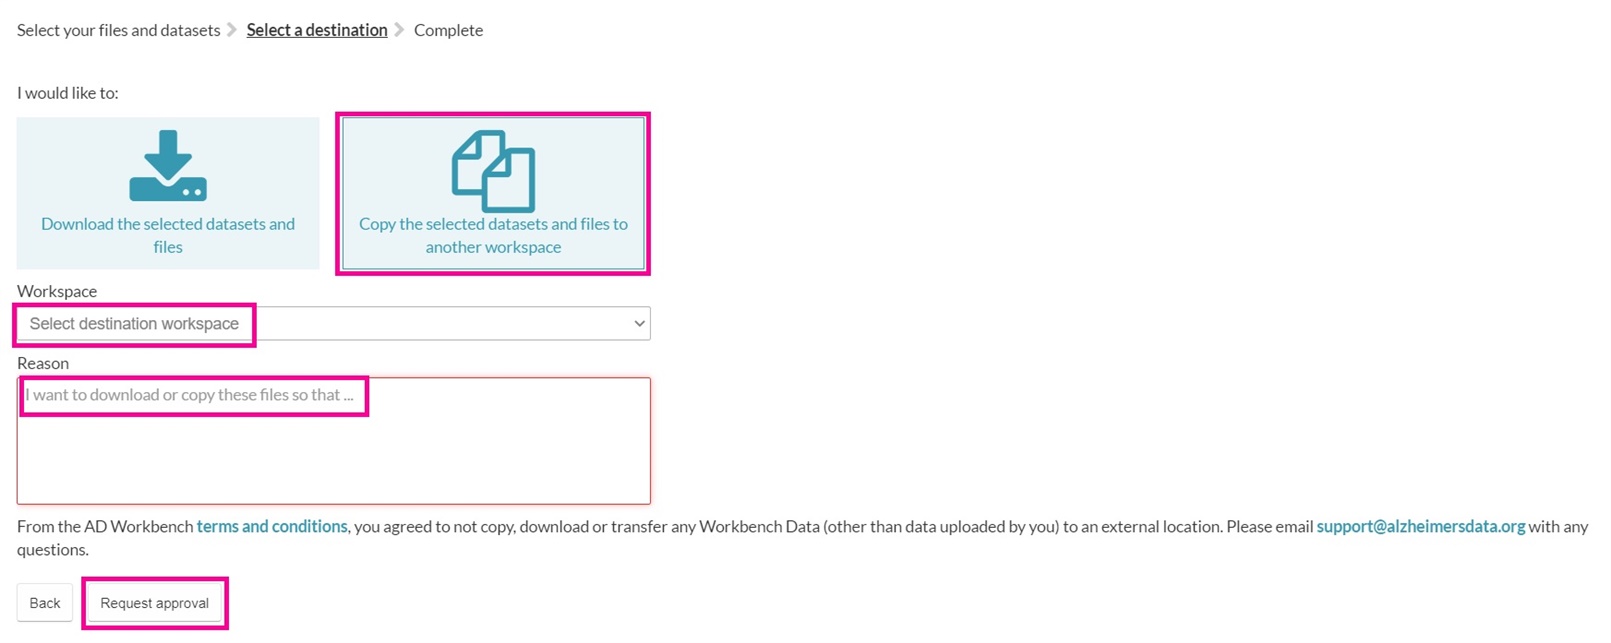
4. Select the icon which reads Copy the selected datasets and files to another workspace. Additionally, select the destination workspace and populate a reason for the file transfer.
5. Select Request Approval.
6. Once your request has been submitted, navigate to the Summary tab.

7. When the Administrator of your workspace approves the transfer request, select Copy from the event listed in the Summary tab.

The files will appear in the Inbox of the destination workspace.
Still need help? Post a question on the AD Workbench forum or email support@alzheimersdata.org.
Document updated 5 October 2022.